Documentation as Executable Context
Making your docs do double duty as AI context and human reference
Part 2 of the Agent-Ready Development Series
When a developer joins your project, what happens in the first 30 seconds?
They look for the README. They skim it. They decide if they understand what this project is and whether they can figure out how to work with it.
AI assistants do the exact same thing—except they’re incredibly literal about it.
A human developer might browse around, make inferences, ask a coworker. An AI assistant reads what’s there and works with that. If your foundation files are incomplete or confusing, every subsequent interaction suffers.
Let’s fix that.
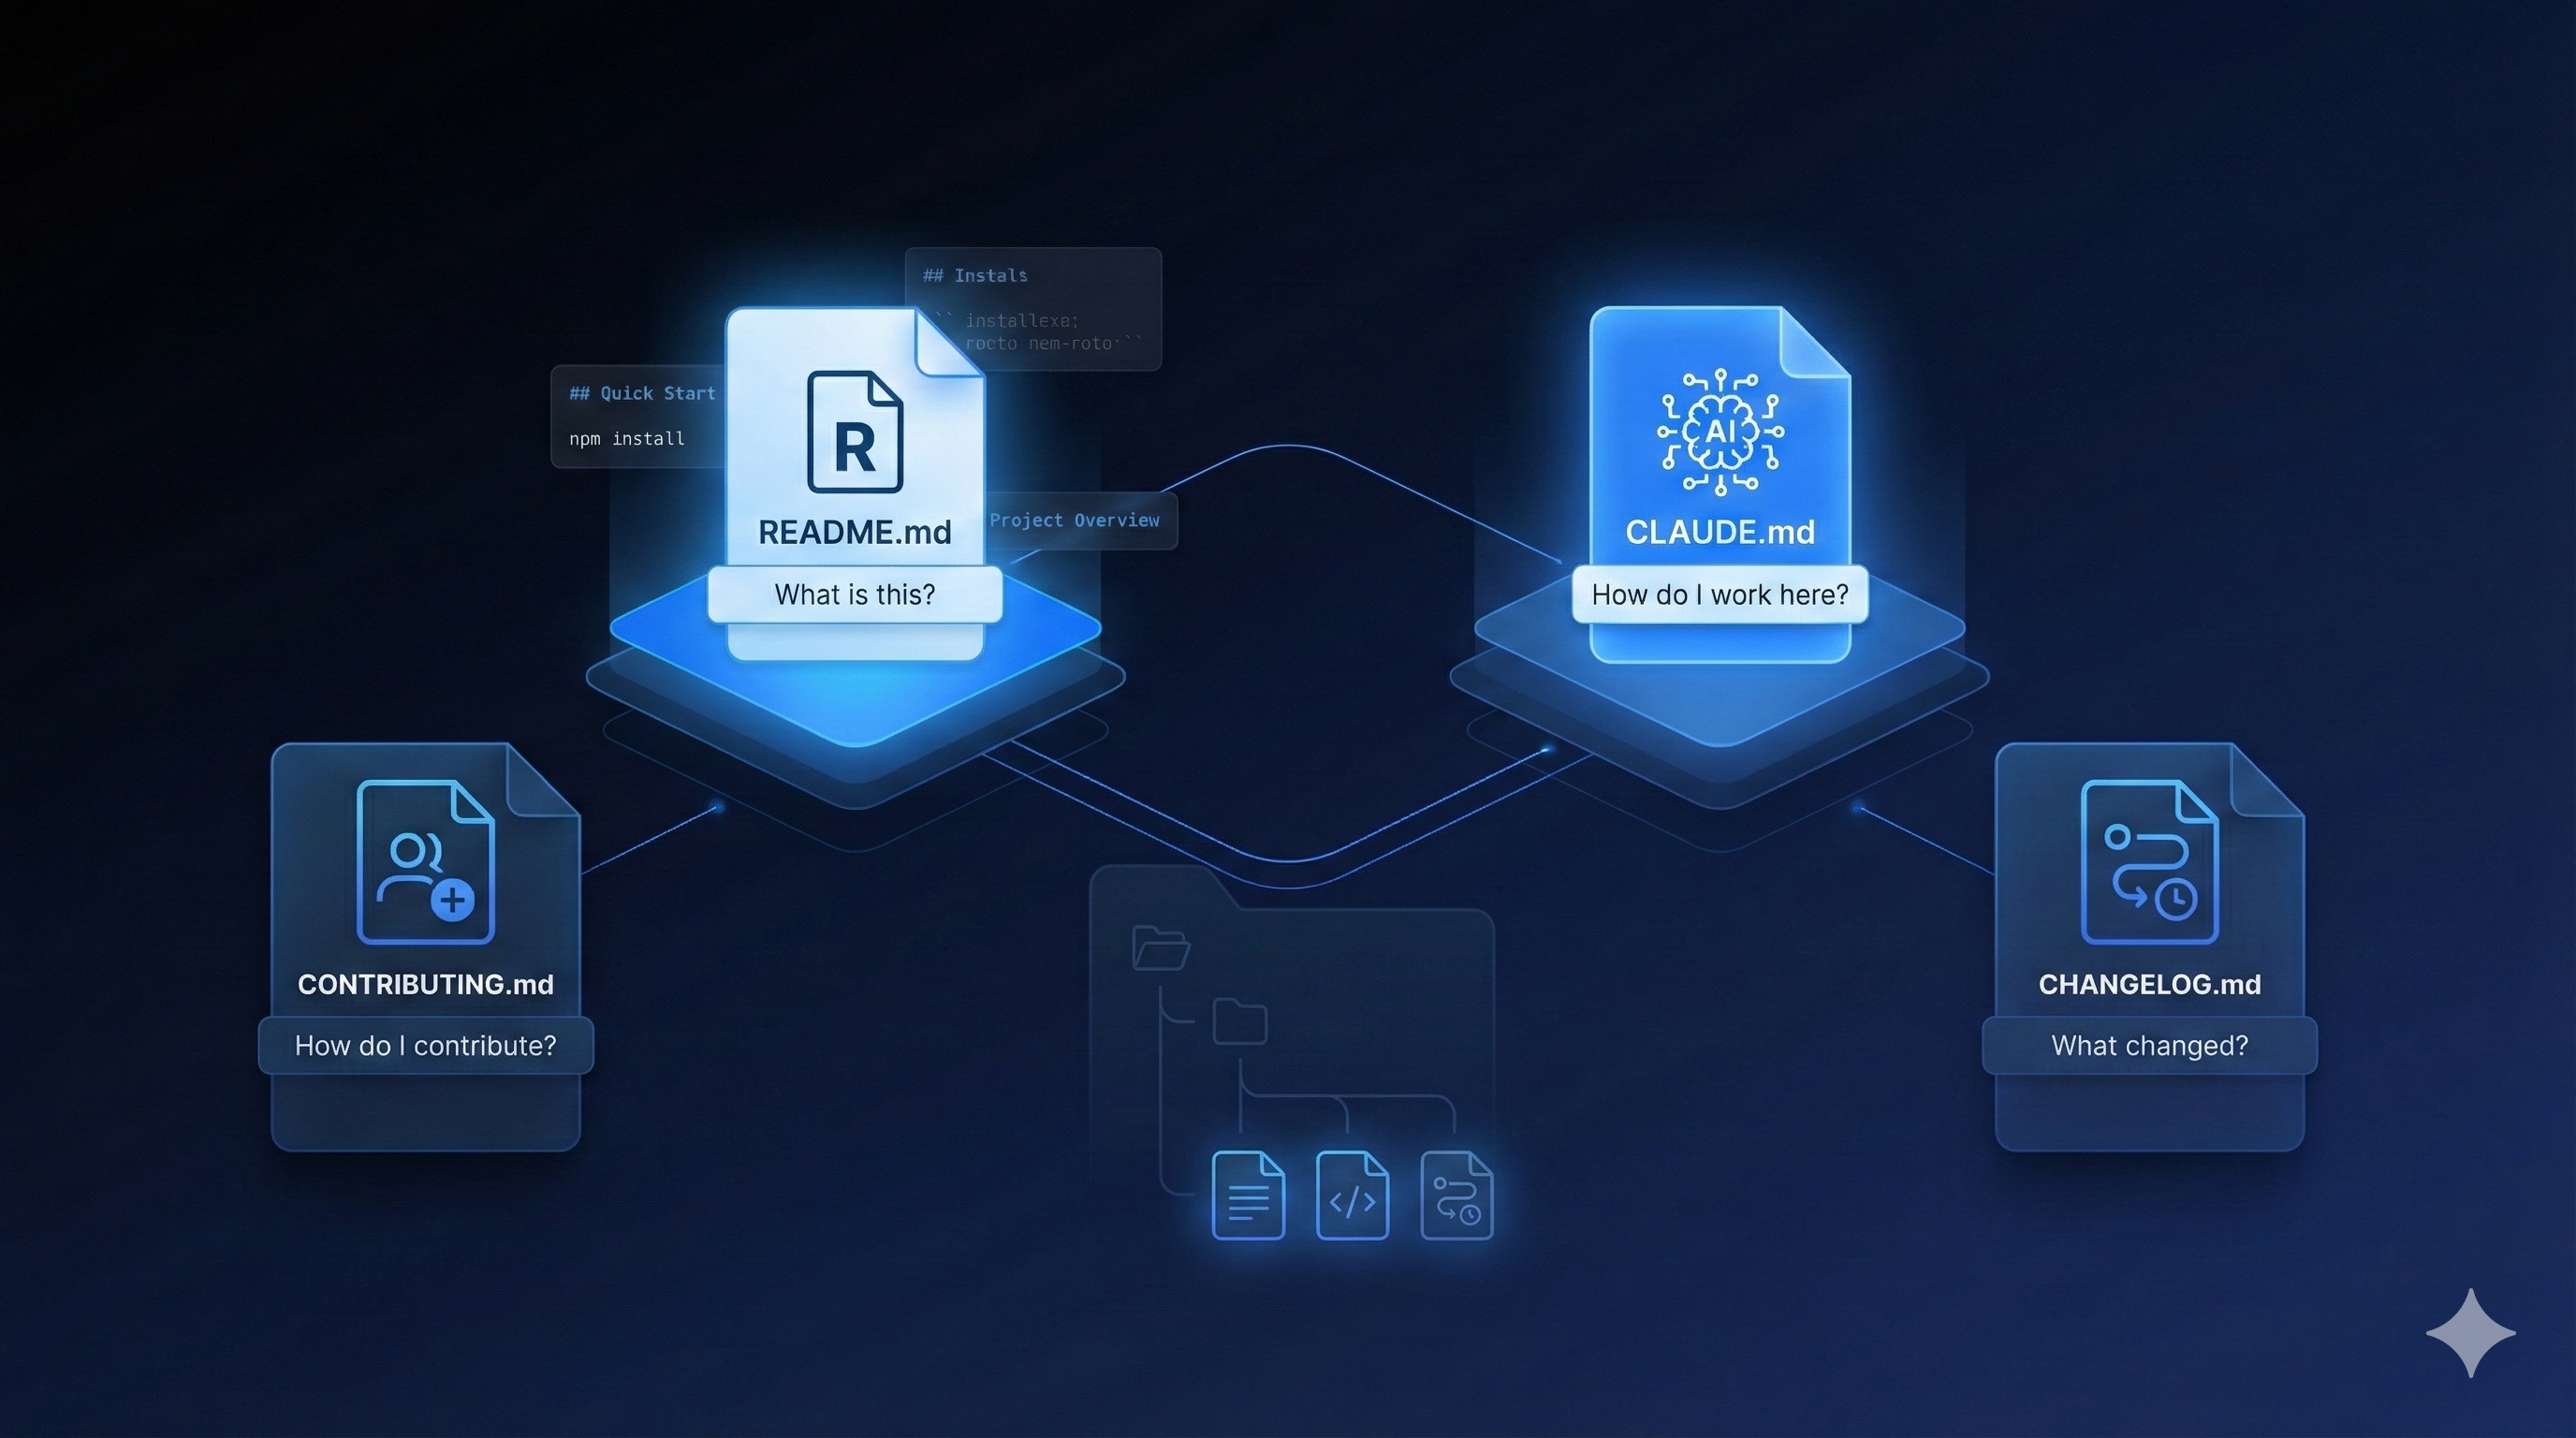
There are four critical files that form the foundation of an agent-ready repository:
project/
├── README.md          # What is this?
├── CLAUDE.md          # How do I work here? (AI-specific)
├── CONTRIBUTING.md    # How do I contribute?
└── CHANGELOG.md       # What changed?
Each serves a distinct purpose. Let’s break them down.
Your README is marketing. It answers one question: “Should I care about this project?”
# Project Name

One sentence that explains what this project does.

## Quick Start

Three commands max to get running:

    npm install
    npm run dev
    # Open http://localhost:3000

## What It Does

2-3 paragraphs explaining the problem this solves and how.

## Features

- Feature 1: Brief description
- Feature 2: Brief description
- Feature 3: Brief description

## Documentation

- [Getting Started](./docs/getting-started.md)
- [API Reference](./docs/api-reference.md)
- [Contributing](./CONTRIBUTING.md)

## Tech Stack

- Frontend: React 18, TypeScript, Tailwind
- Backend: Node.js, Express, PostgreSQL
- Testing: Vitest, Playwright

## License

MIT © Your NameThe README should be scannable in 30 seconds.
This is the game-changer. While README.md talks to humans, CLAUDE.md talks to AI assistants.
Claude Code specifically looks for this file. Other AI tools increasingly do too. It’s your opportunity to give explicit instructions that would be too verbose for human documentation.
# Project Name - AI Development Guide

## Project Overview

[Project Name] is a [type of application] that [primary purpose].
Built with [main technologies] following [architectural pattern].

## Quick Commands

    npm run dev        # Start development server
    npm run test       # Run all tests
    npm run lint       # Check code style
    npm run build      # Production build
    npm run typecheck  # TypeScript validation

## Architecture

    src/
    ├── components/    # React components (PascalCase)
    ├── hooks/         # Custom hooks (useCamelCase)
    ├── services/      # Business logic (camelCase)
    ├── utils/         # Pure functions (camelCase)
    ├── types/         # TypeScript types (PascalCase)
    └── pages/         # Route pages (kebab-case folders)

## Code Conventions

- Use TypeScript strict mode
- Prefer named exports over default exports
- Use React functional components with hooks
- Place tests adjacent to source files: `Component.tsx` → `Component.test.tsx`
- CSS: Use Tailwind utility classes; avoid custom CSS files
- State: Use React Query for server state, Zustand for client state

## Development Workflow

1. Create feature branch from `main`: `feature/description`
2. Make changes with atomic commits
3. Run `npm run test && npm run lint` before committing
4. Create PR against `main` with description
5. Squash merge after approval

## Current Priorities (Optional)

- Focus: User authentication refactor
- Avoid: Touching legacy /api/v1 routes
- Known issues: Payment webhook occasionally fails (Issue #47)

## Do Not

- Modify database schema without migration files
- Use `any` type in TypeScript
- Commit environment files (.env*)
- Skip tests for new featuresYour CLAUDE.md should evolve with your project. When you catch an AI making a mistake:
It’s a living document.
This file answers: “How do I submit changes to this project?”
# Contributing to Project Name

Thank you for your interest in contributing!

## Getting Started

1. Fork the repository
2. Clone your fork
3. Install dependencies: `npm install`
4. Create a branch: `git checkout -b feature/your-feature`

## Development Setup

### Prerequisites

- Node.js 18+
- npm 9+
- PostgreSQL 14+ (local or Docker)

### Environment Variables

Copy `.env.example` to `.env` and configure:

    DATABASE_URL=postgresql://localhost:5432/myapp
    API_KEY=your_dev_api_key

### Running Locally

    npm run dev          # Start development server
    npm run db:migrate   # Run database migrations
    npm run seed         # Seed test data

## Making Changes

### Code Style

We use ESLint and Prettier. Run before committing:

    npm run lint:fix

### Commit Messages

We follow [Conventional Commits](https://conventionalcommits.org/):

    feat: add user profile page
    fix: resolve login redirect loop
    docs: update API documentation
    test: add unit tests for auth service

### Testing

All PRs require:
- [ ] Unit tests for new functions
- [ ] Integration tests for new endpoints
- [ ] No decrease in code coverage

Run tests:

    npm run test        # All tests
    npm run test:unit   # Unit only
    npm run test:e2e    # End-to-end

## Pull Request Process

1. Update CHANGELOG.md if applicable
2. Ensure CI passes (tests, lint, build)
3. Request review from maintainers
4. Address feedback promptly
5. Squash merge when approved

## Reporting Issues

Use GitHub Issues with our templates:
- 🐛 [Bug Report](.github/ISSUE_TEMPLATE/bug_report.md)
- ✨ [Feature Request](.github/ISSUE_TEMPLATE/feature_request.md)

## Code of Conduct

Be respectful. Be constructive. We're all here to build something great.

## Questions?

Open a Discussion or reach out to @maintainer.AI assistants read CONTRIBUTING.md too. When you ask Claude to “create a PR for this feature,” it will:
CHANGELOG.md answers: “What has changed in this project?”
For AI assistants, this provides crucial context about recent changes that might affect their work.
# Changelog

All notable changes to this project will be documented in this file.

The format is based on [Keep a Changelog](https://keepachangelog.com/),
and this project adheres to [Semantic Versioning](https://semver.org/).

## [Unreleased]

### Added
- User profile avatars (#123)
- Export to CSV feature (#125)

### Changed
- Upgraded React from 17 to 18

### Fixed
- Login redirect loop on mobile (#122)

## [2.1.0] - 2025-01-15

### Added
- Dark mode support
- Keyboard shortcuts for power users

### Changed
- Redesigned settings page
- Improved loading states

### Fixed
- Memory leak in dashboard component
- Race condition in data fetching

## [2.0.0] - 2025-01-01

### Breaking Changes
- API v1 deprecated; use v2 endpoints
- Minimum Node.js version is now 18

### Added
- Complete API rewrite with better performance
- Real-time notifications

[Unreleased]: https://github.com/user/repo/compare/v2.1.0...HEAD
[2.1.0]: https://github.com/user/repo/compare/v2.0.0...v2.1.0
[2.0.0]: https://github.com/user/repo/releases/tag/v2.0.0Never commit real environment variables, but always commit an example:
# .env.example - Copy to .env and fill in values

# Database
DATABASE_URL=postgresql://localhost:5432/myapp

# Authentication
JWT_SECRET=generate-a-secure-secret-here
SESSION_DURATION=86400

# External APIs
STRIPE_KEY=sk_test_...
SENDGRID_KEY=SG...

# Feature Flags
ENABLE_DARK_MODE=true
ENABLE_BETA_FEATURES=false
This tells AI assistants what environment variables your app expects without exposing secrets.
When an AI assistant enters your repository, here’s the optimal reading order:
1. README.md        → "What am I looking at?"
2. CLAUDE.md        → "How should I work here?"
3. CONTRIBUTING.md  → "What are the rules?"
4. CHANGELOG.md     → "What happened recently?"
5. docs/            → "Deep details when needed"
Each layer adds context without repeating the previous layer.
Want a head start? Here’s a GitHub template with all these files pre-structured:
# Clone the template
npx degit unjoe/agent-ready-template my-project
cd my-project

# Initialize
npm install
git init
[Link to template repository]
In Part 3, we’ll explore Branch Protection & PR Workflows for AI Collaboration—creating guardrails that let AI assistants contribute safely while protecting your codebase from mistakes.
These patterns are core to how PopKit helps developers structure their projects. PopKit’s /popkit:project init command can generate these foundation files automatically, pre-configured for your specific tech stack. Check it out if you want to automate this setup.
← Part 1: The Agent-Ready Manifesto | Part 3: Branch Protection & PRs →